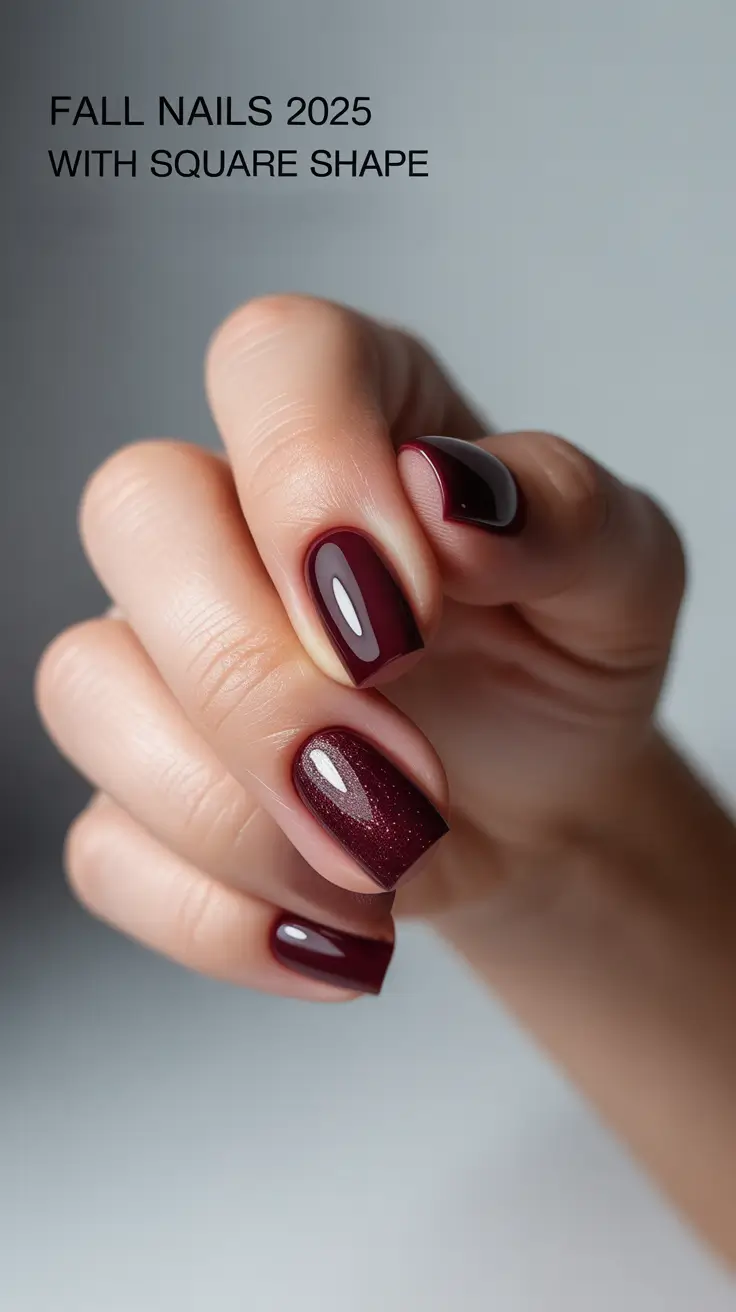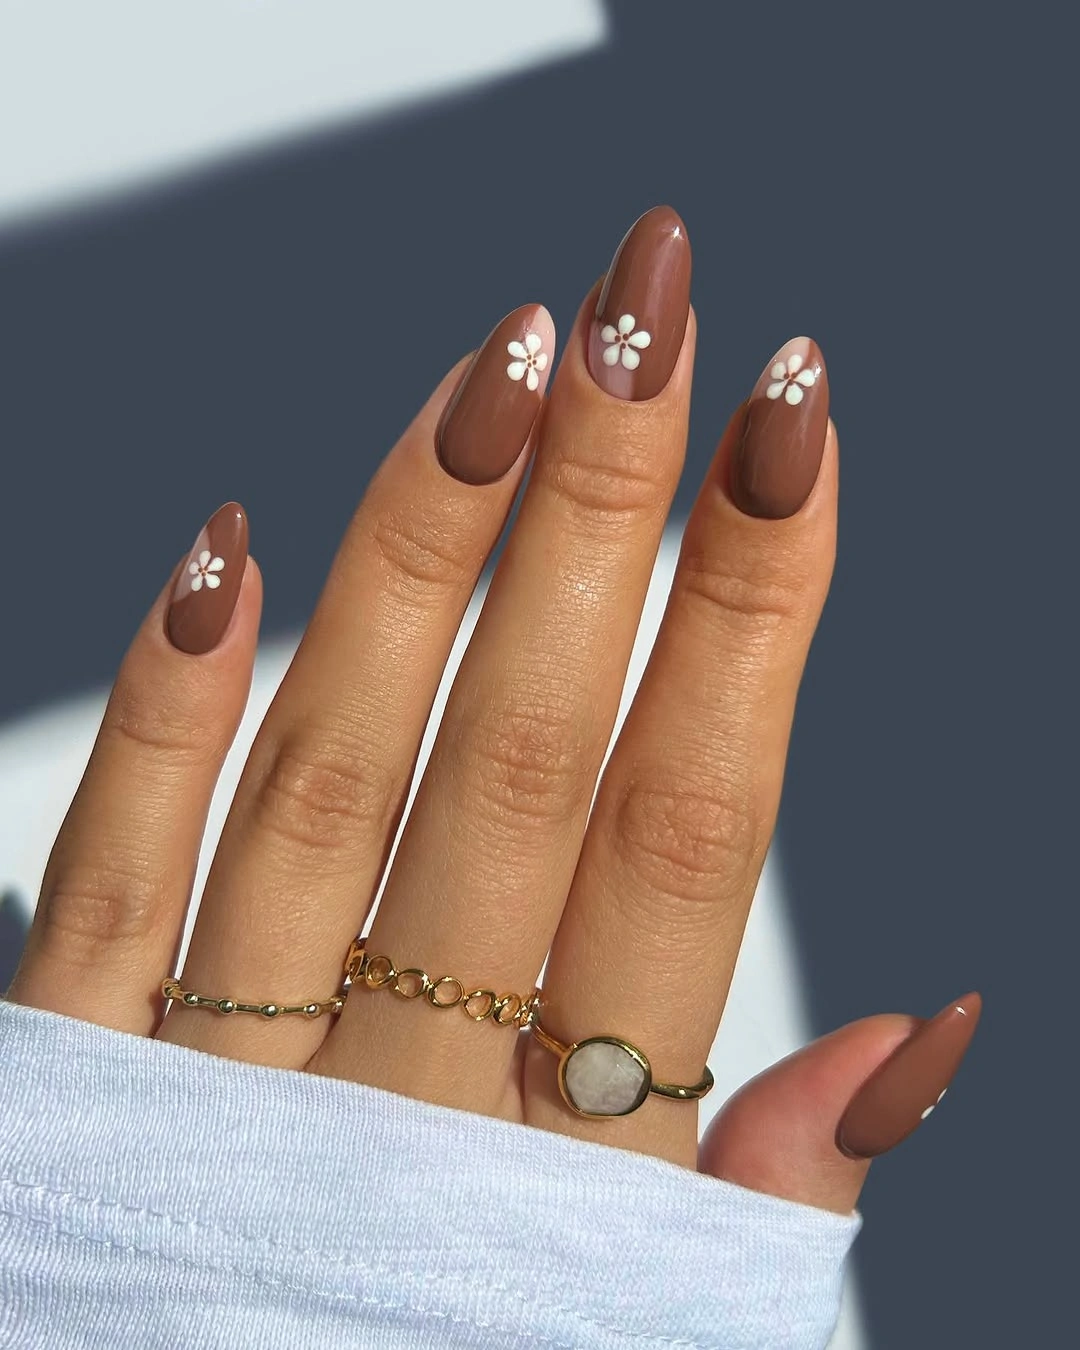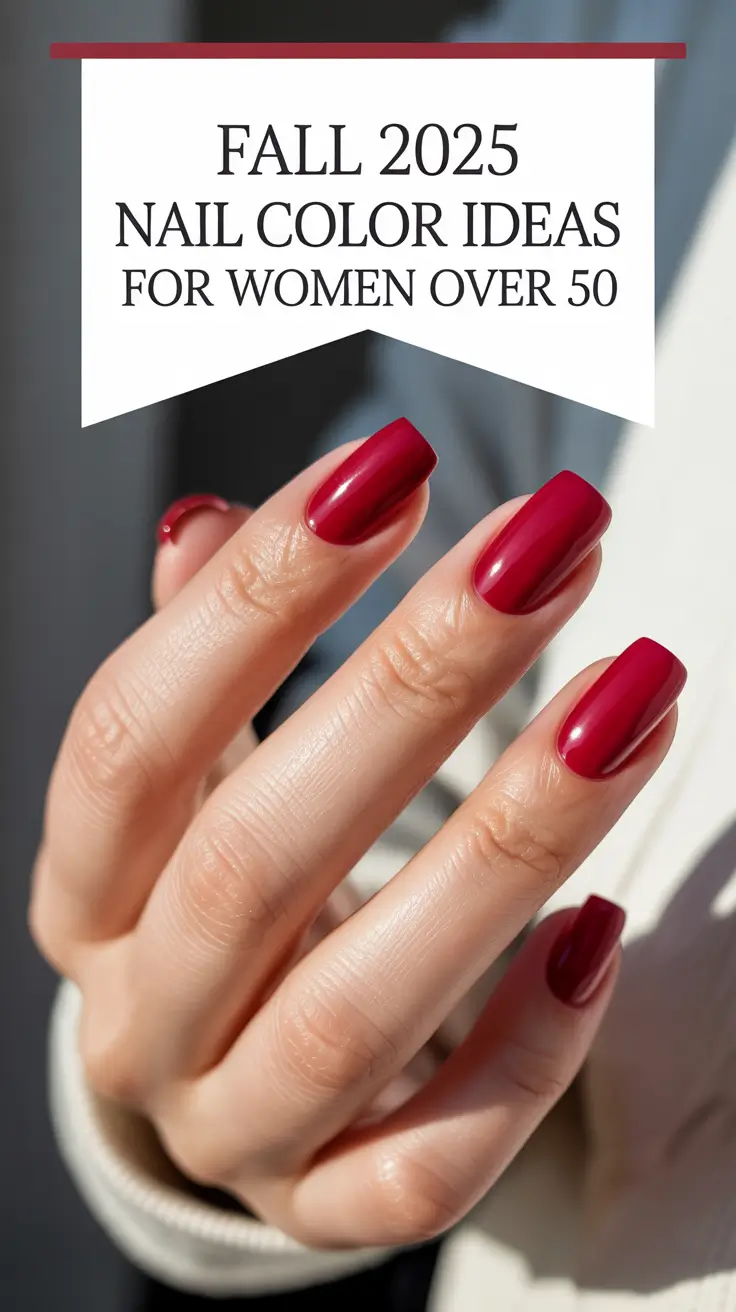

I kept seeing ombre nails pop up on my feed this winter, but not the blurry gradients of years past. The new ones have structure: a clean line where the color shifts, a deliberate fade from deep to pale, from glossy to matte. Soft pastels and bold accents collide, and somehow it works without screaming for attention.
This roundup covers 25 takes on Winter Ombre Nails, from short squoval to long stiletto, from salon-only foils to Sunday afternoon glitter gradients. I tested them on my own short nail beds through real life: typing, cooking, picking at cuticles. Some held for two weeks. Others chipped by Wednesday. Which ones earned a rebook? I kept notes.
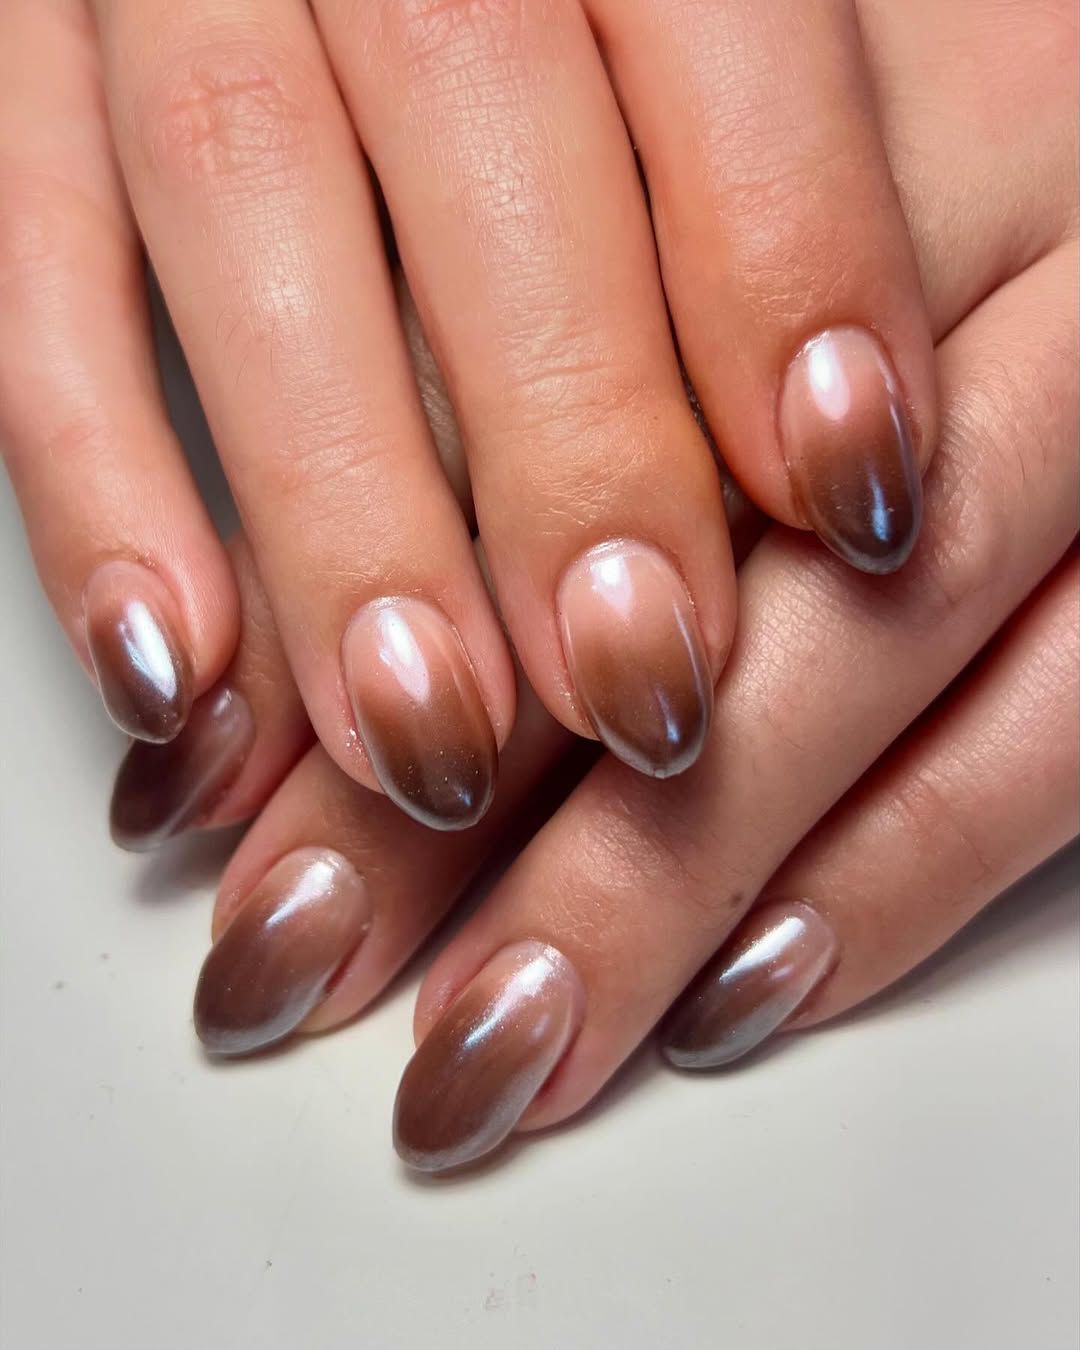
Deep Brown to Nude Glossy Ombre
The transition here is so smooth it looks airbrushed, which is exactly why this is a salon job. Brown to nude ombre nails read warm and polished, but the glossy finish is unforgiving: any streak, any patchy spot, and the whole gradient falls apart. I’ve watched techs nail this in twenty minutes and I’ve watched a DIY attempt take an hour and still end up blotchy. The shimmer hides some sins, not all of them. Book the appointment, bring a reference photo, and let someone with a steady hand handle the blending.
Magnetic Red to Black Stiletto Ombre
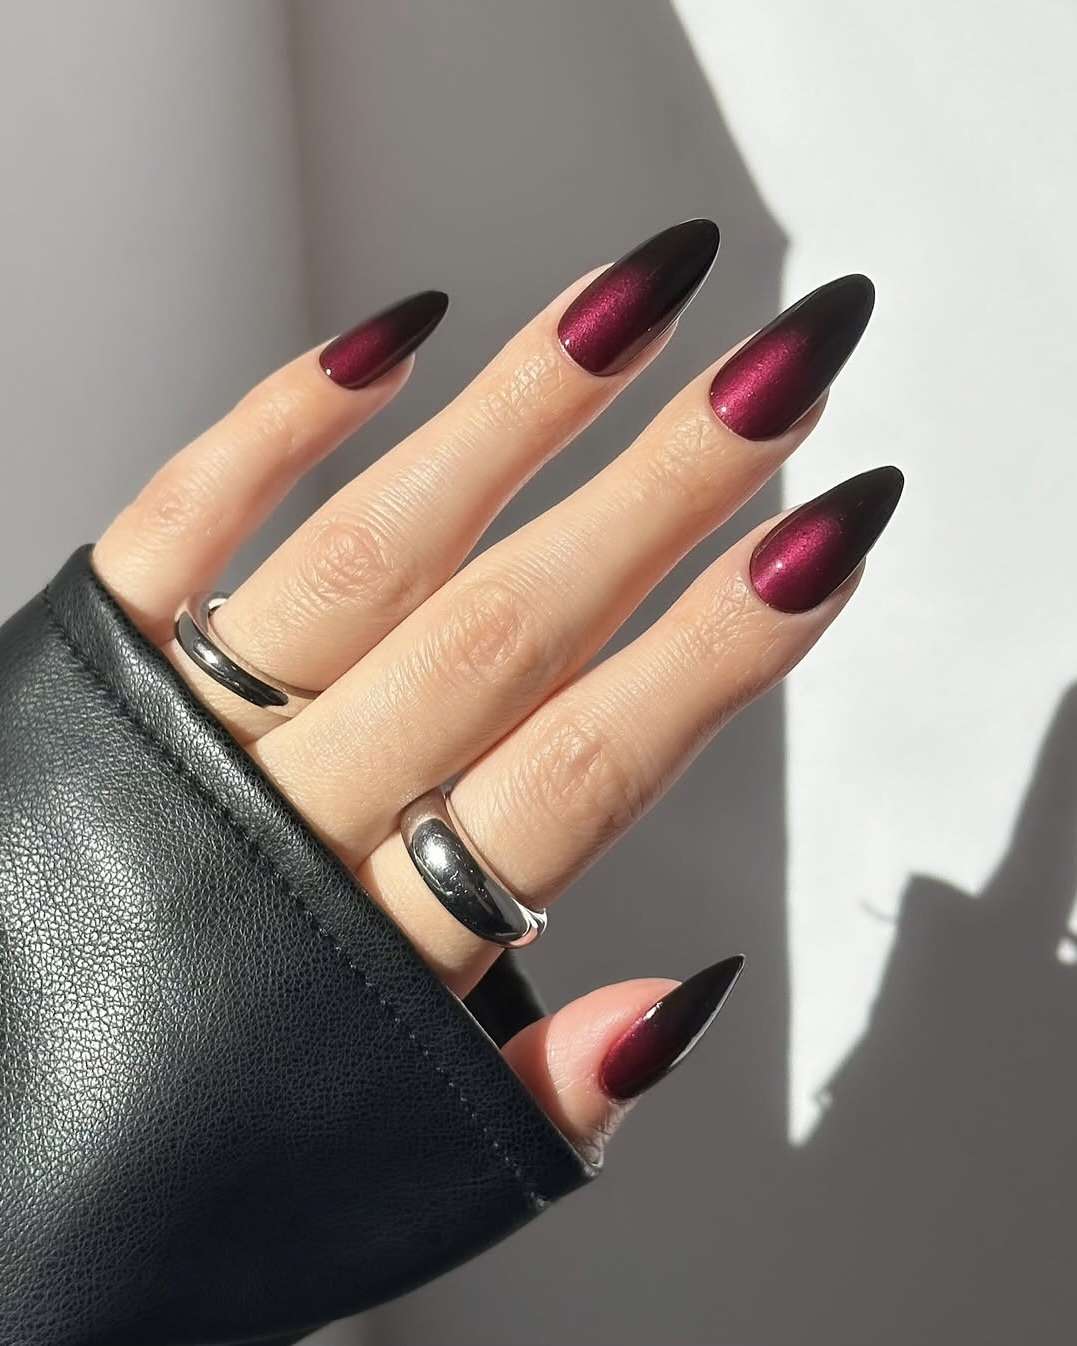
The magnetic cat eye ombre effect is the first thing you notice, that deep red shifting to black with a metallic pull that looks almost liquid. On long stiletto nails it reads dramatic, the kind of look that carries a holiday party on its own. The magnetic finish is what makes it work, but it’s also the fragile part: it smudges if you touch it before it cures, so don’t attempt this at home unless you’ve got a lamp and patience. This is winter in its boldest form, and it earns every glance.
Pink to Gold Metallic Ombre Almonds
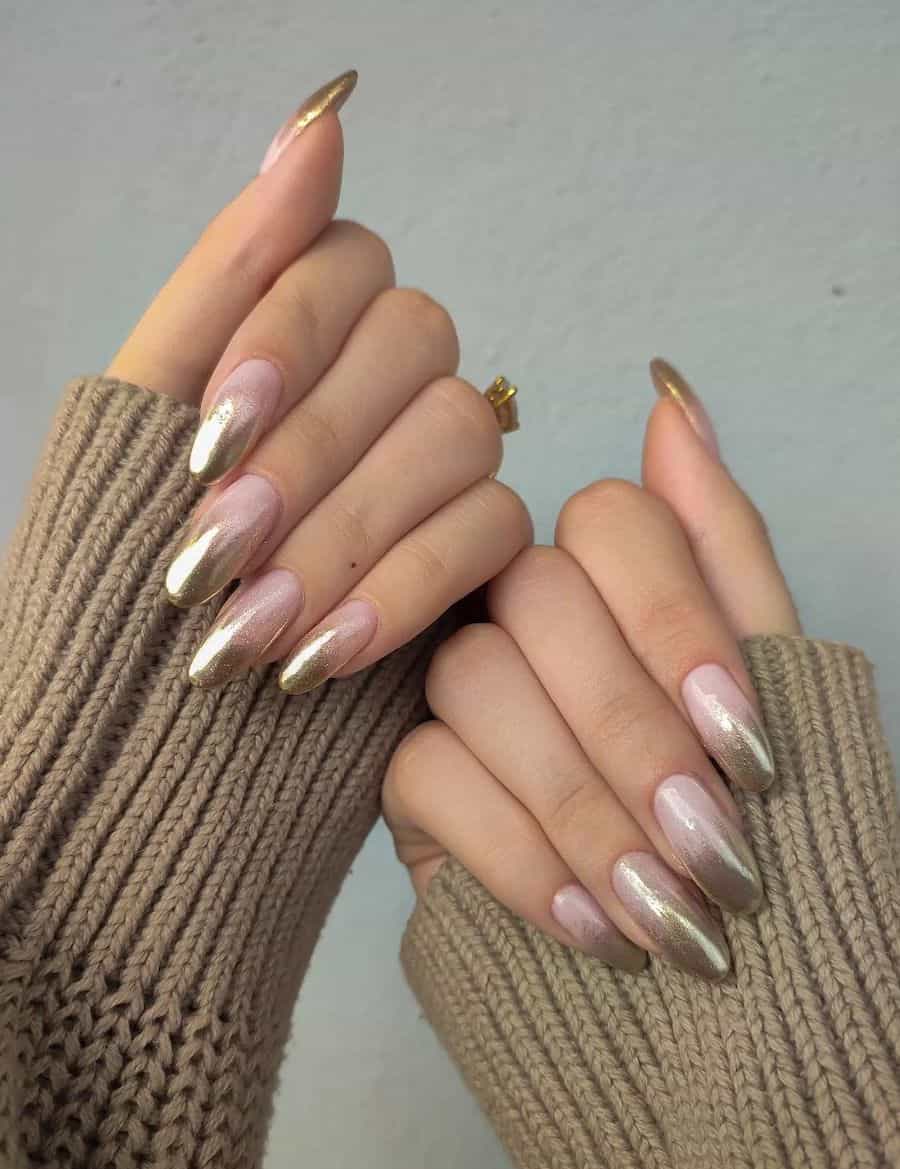
The gold tip french ombre wins over a full metallic chrome every time. A full chrome can look flat under certain lights, but this pink-to-gold fade keeps a softness that reads festive without shouting. The metallic ombre sits on medium almond nails and the execution is everything: the cuticle work is clean, the lines are crisp, and the gold lands precisely at the tip rather than bleeding halfway down. Ask for a thin gold layer, not a thick foil, so the pink shows through the transition. You want shades that lean warm, a blush pink and a champagne gold, not a stark white and a brassy yellow. That pairing is what keeps it elegant instead of costume.
Pink Glitter Ombre with Snowflake Art
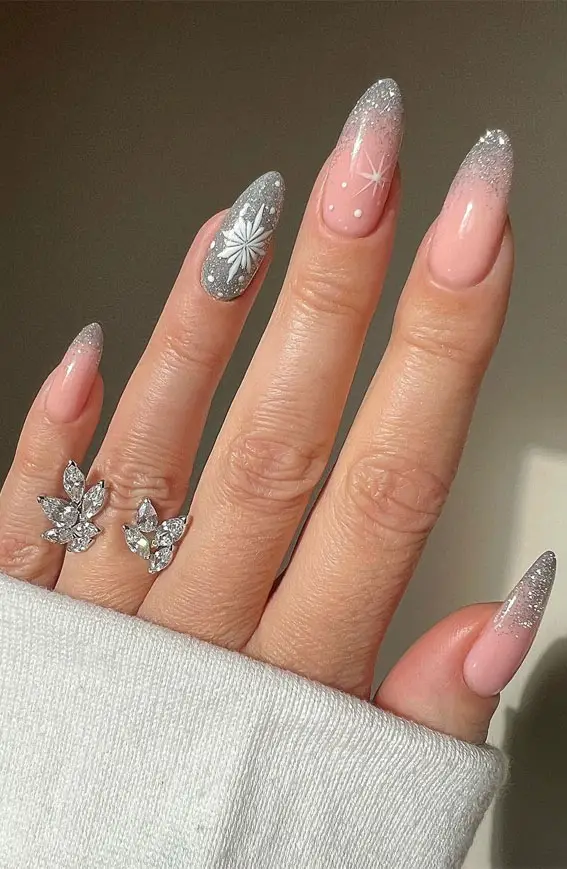
The snowflake glitter ombre is the kind of design that looks simple until you zoom in and see the hand-painted detail. The pale pink to clear gradient is delicate, with silver glitter concentrated at the tips and a single snowflake on the accent nail, crisp and precise. This is salon territory, no question: the art alone takes a steady hand and a fine brush, and the glitter needs careful placement to avoid clumping. For a festive occasion it’s perfect, but don’t try this as a Sunday DIY unless you’ve got hours and a lot of patience. The result is worth the chair time.
Nude to Silver Chrome Ombre Tips
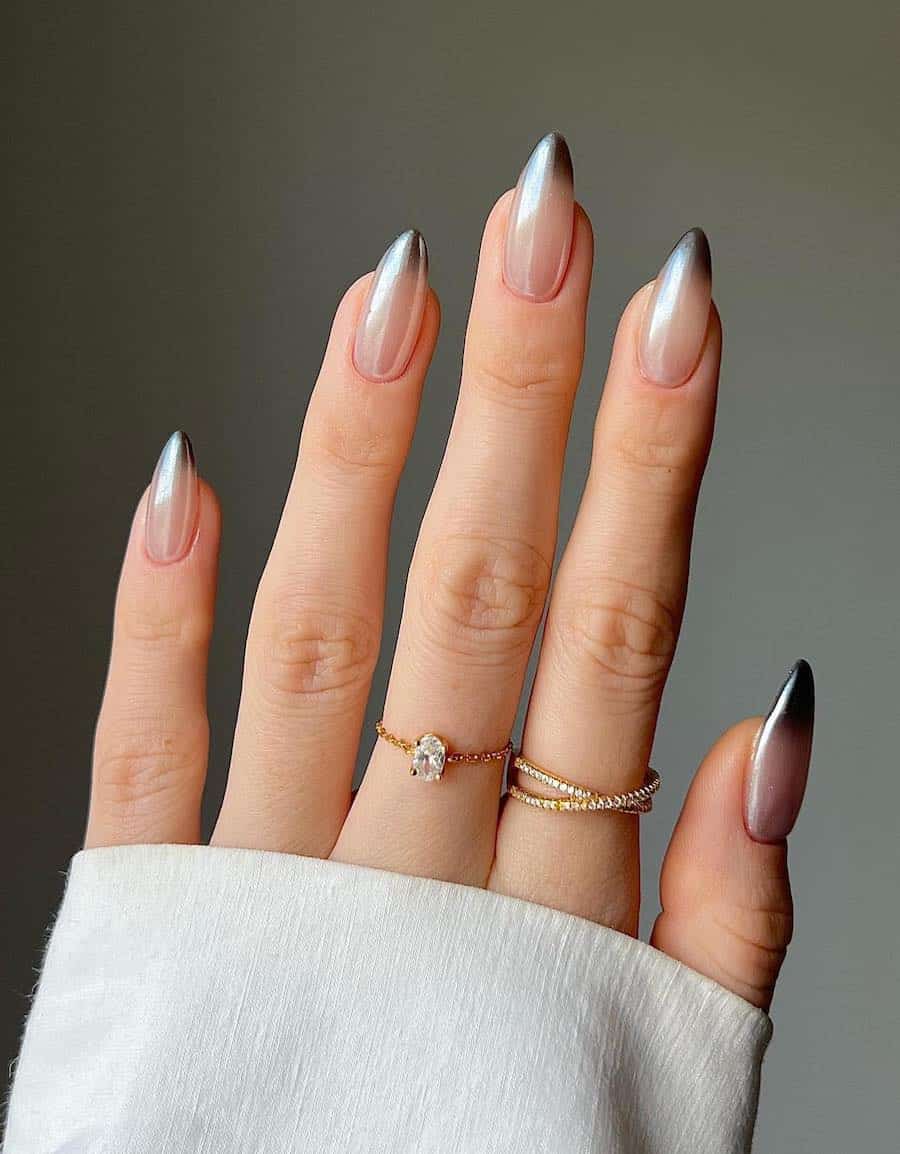
I’ll admit, I was skeptical about chrome ombre tips lasting through a normal week. The metallic silver grey fade from a sheer nude base looks sleek on medium almond nails, but chrome is finicky. Mine started showing wear around day 5, with a tiny chip on my dominant hand index. Removal is a soak-off situation, no prying. If you want the mirror finish to stay clean, book a salon appointment and plan for fills at week three. It’s not a set-it-and-forget-it design, but the two weeks it does hold are worth the maintenance.
Pink to Blue Glitter Ombre with Snowflakes
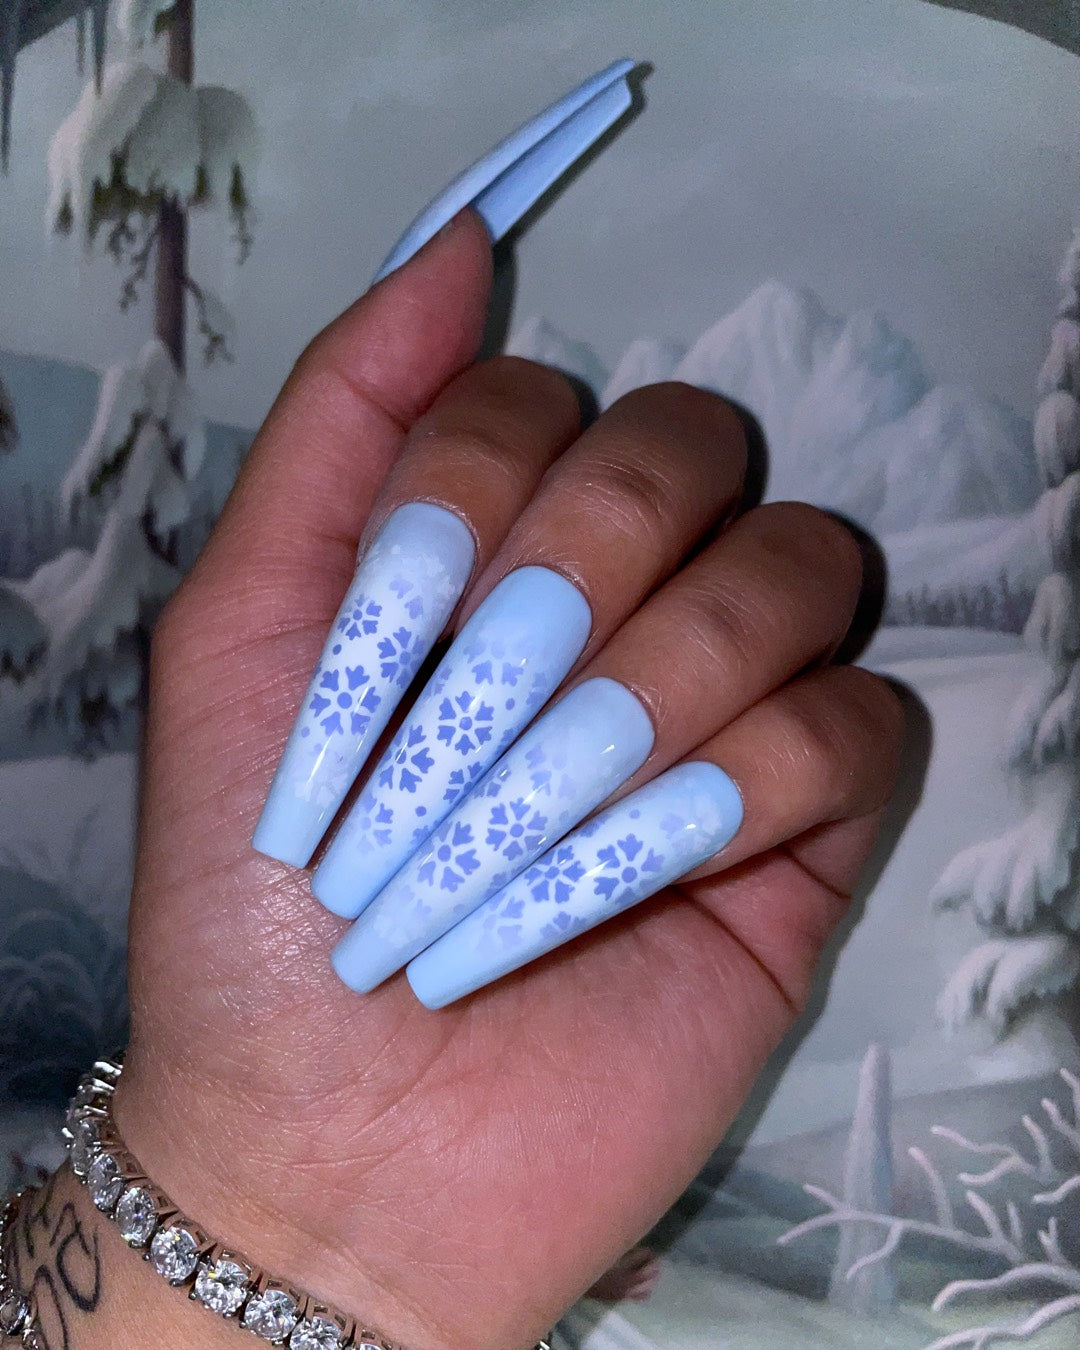
First snowfall of the year, and these nails match the mood exactly. A pale pink to light blue ombre with fine glitter running through it, then delicate white snowflakes on top. The glitter ombre snowflake nails feel like a winter window display, but on long coffin nails. The pink to blue ombre gradient is smooth enough that the transition looks natural, not striped. It’s a salon-only design because the snowflake overlay needs a steady hand and the glitter gradient requires layering. But for a holiday party or a weekend getaway, it’s the kind of detail that gets noticed without shouting.
Sheer Pink to Icy Blue with Pearls
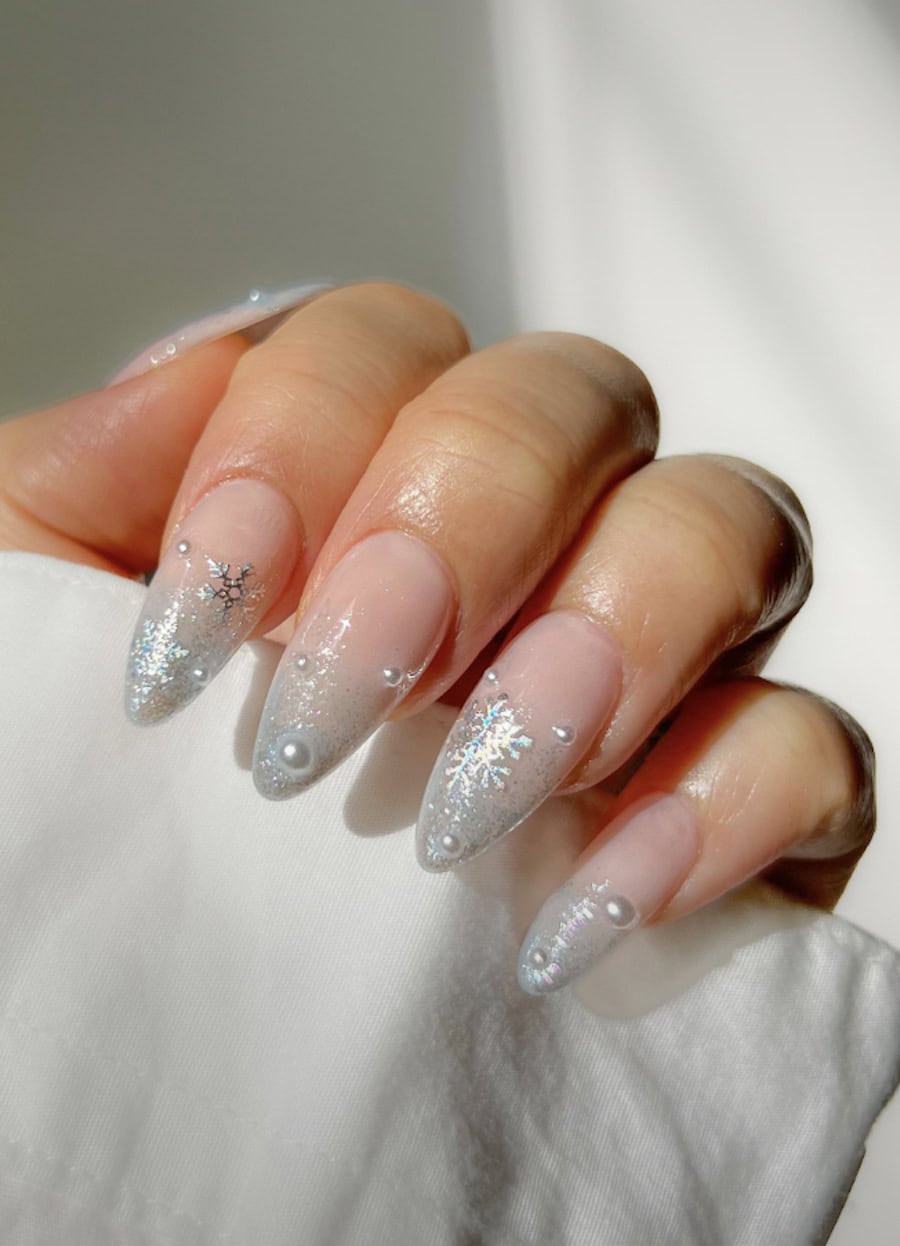
Can you recreate this at home? Maybe, if you have a steady hand and a lot of patience. Start with a sheer pink base, then sponge a gradient toward an icy blue at the tips. The key is thin layers so the transition stays translucent. Once the gradient is dry, place small pearls and snowflake decals on accent nails using a dotting tool and a tiny drop of top coat. The icy blue pearl nails look delicate on long stiletto shapes, but the honest downside is that pearls catch on everything. Sweaters, hair, even typing. A thick top coat helps, but you’ll still lose one or two by week two. Soak off removal is mandatory to avoid ripping the decals.
Pink to Blue Ombre with Holiday Accents
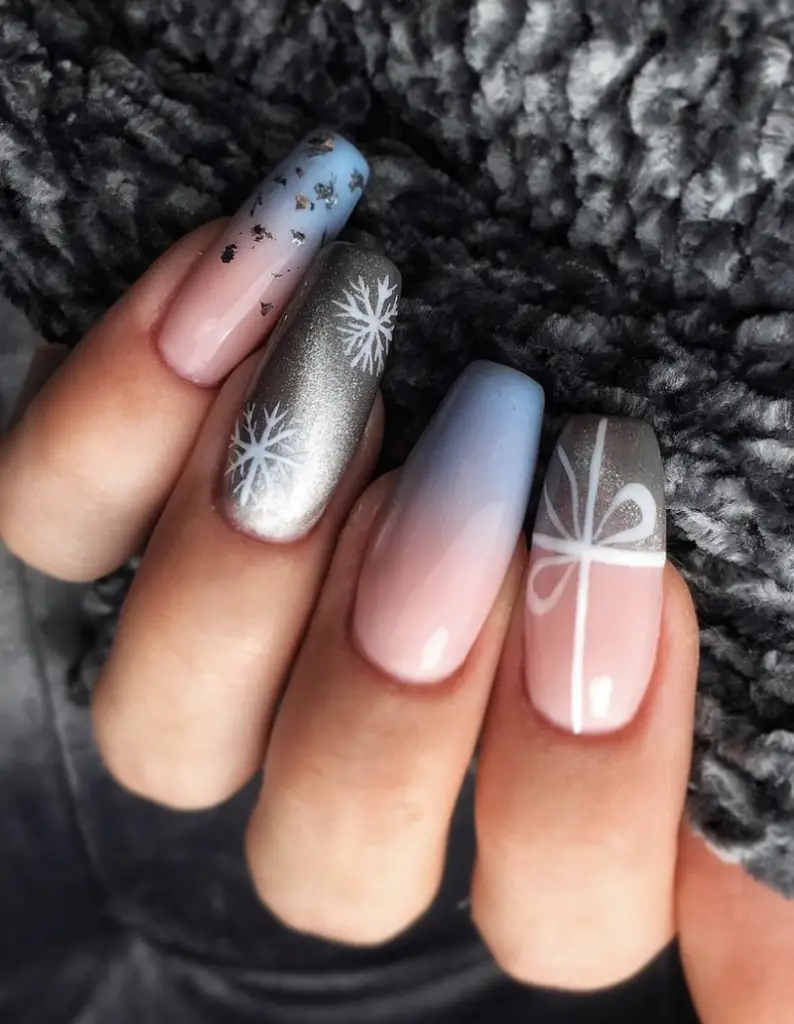
The gift box accent nail is what sold me. A pink to blue ombre base with silver metallic flakes scattered through it, then a tiny bow and ribbon detail on one nail. The holiday accent ombre nails feel festive without being cartoonish. The gradient is glossy and smooth, and the silver flakes catch light without overwhelming the design. It’s a salon look because the gift box art needs precision, but the payoff is a set that works for Christmas dinner and New Year’s Eve both. The pink to blue transition keeps it from feeling too literal — it’s holiday without the red and green.
Light Blue Shimmer Ombre with Snowflakes
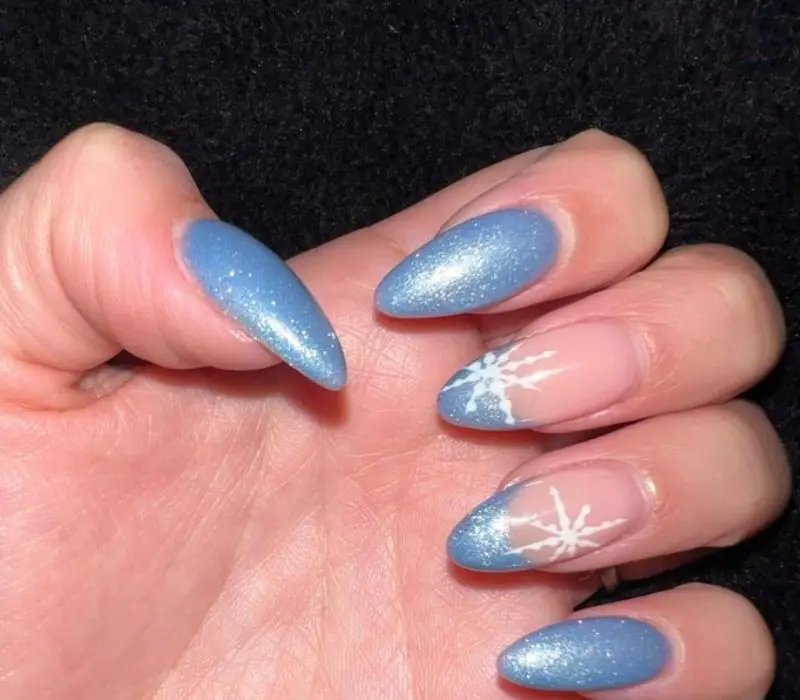
The light blue shimmer ombre with hand-painted snowflake art is the one that actually earns the salon trip. A sheer nude base keeps it delicate, then the shimmer fades in like frost on a window. The snowflakes are the tricky part: freehand dots and lines look charming when slightly imperfect, but any wobble in the stem reads as messy. I’ve seen stamped versions that crack by day three, so I’d skip DIY unless you’ve got a steady hand and a patience for cleanup. This one is a book-it situation, not a Sunday experiment.
Metallic Silver and Blue Ombre
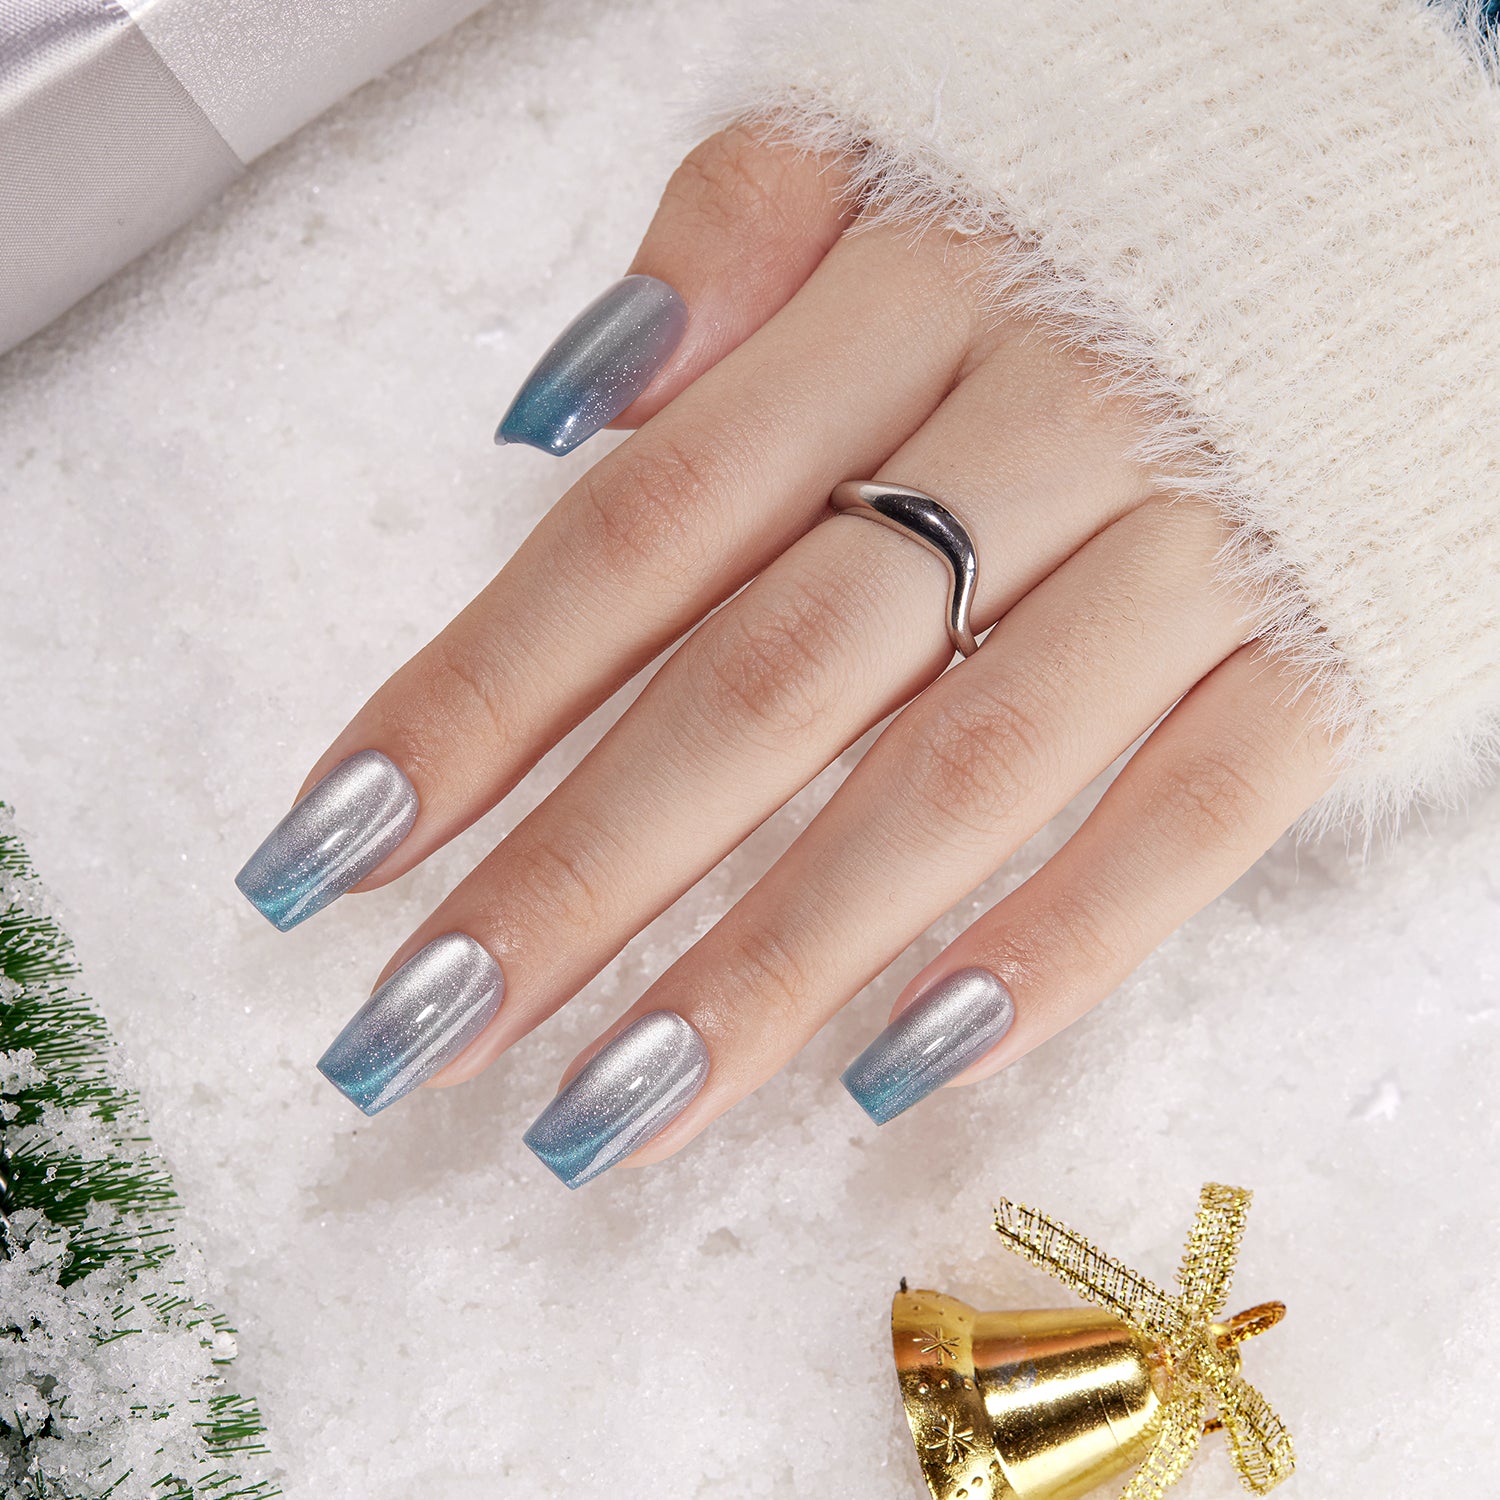
Who actually pulls off a metallic winter ombre without it looking like a robot costume? The answer is anyone with cool undertones, because the silver and blue blend mirrors the icy light of January. Long square nails give the metallic finish room to catch light, and the sheer base keeps it from turning into full-on chrome armor. If your skin runs warm, this might read as gray instead of glacial, so test a swatch first. It’s a statement, not a subtle one, but that’s the point.
Lavender Glitter Ombre with Scattered Glitter
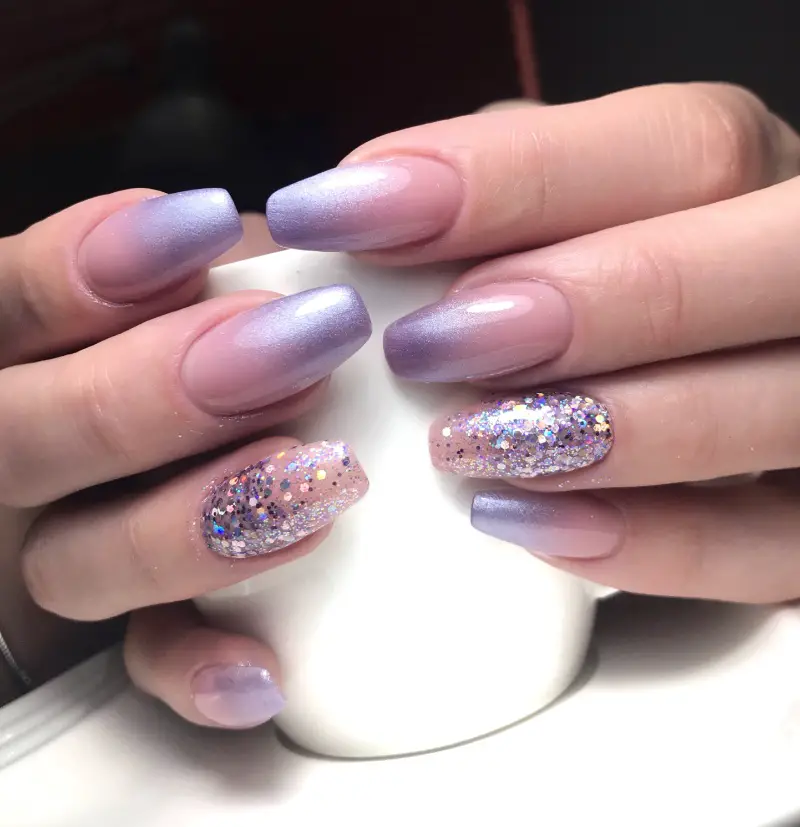
I’ll confess: I wore an iridescent glitter ombre for a week and forgot it was on, until I snagged a sweater. The pale lavender to clear gradient is smooth, but the scattered glitter on the accent nail is what catches every loose thread. Glitter wears well, no chips, but it dulls by day five if you skip a top coat refresh. Removal is the real test: soak off, don’t peel, or you’ll be picking glitter out of your cuticles for a month. Keep a file handy for the edges, and you’re fine.
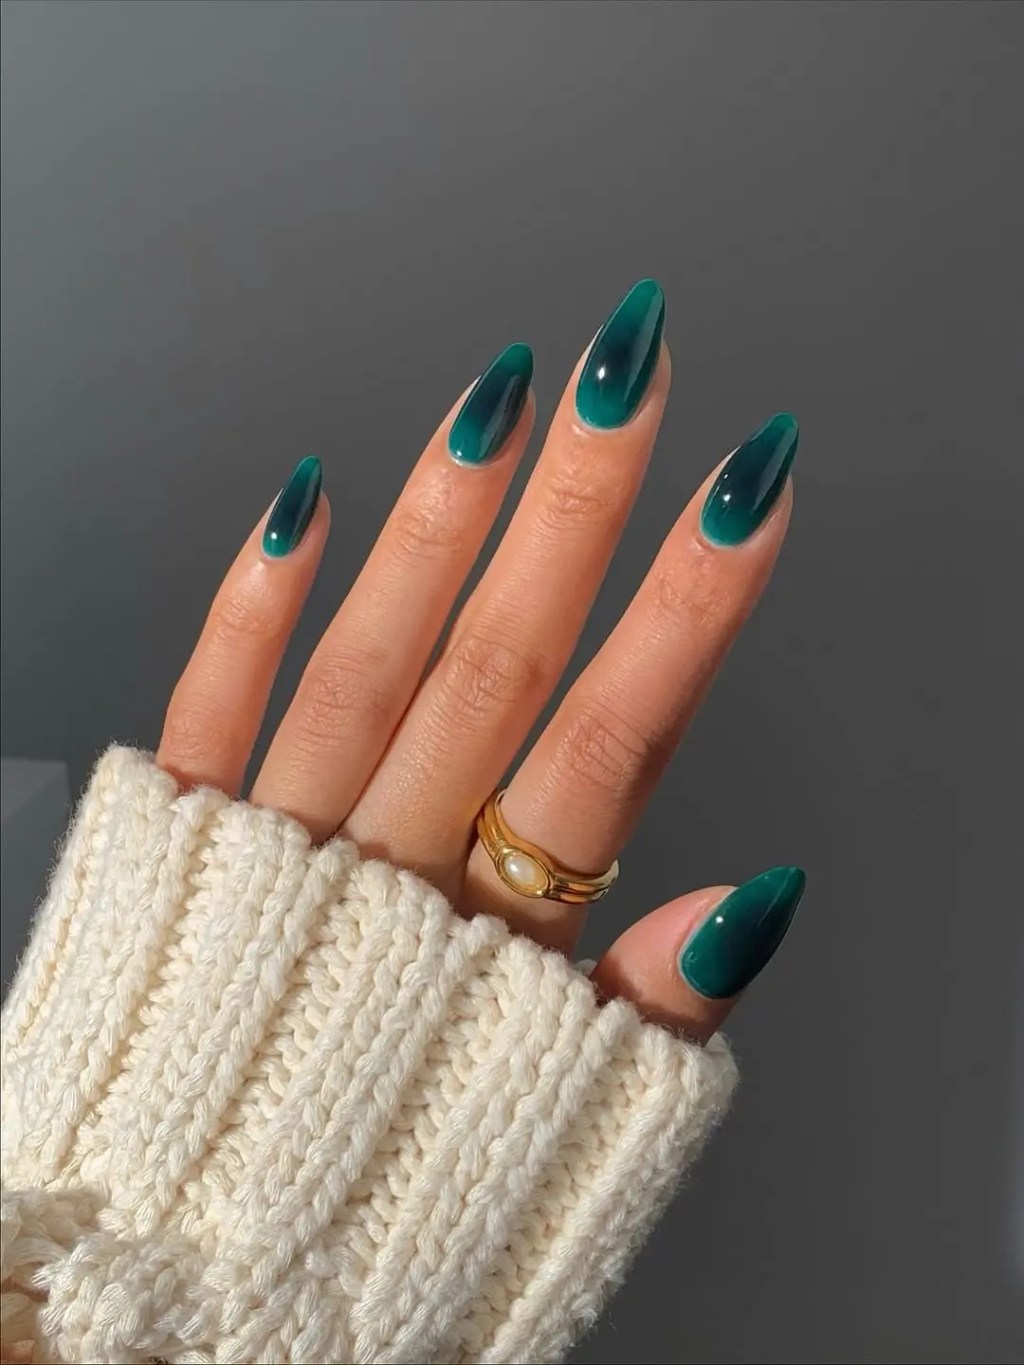
Mixed Finish Holiday Motifs
Ultra-Smooth French Ombre
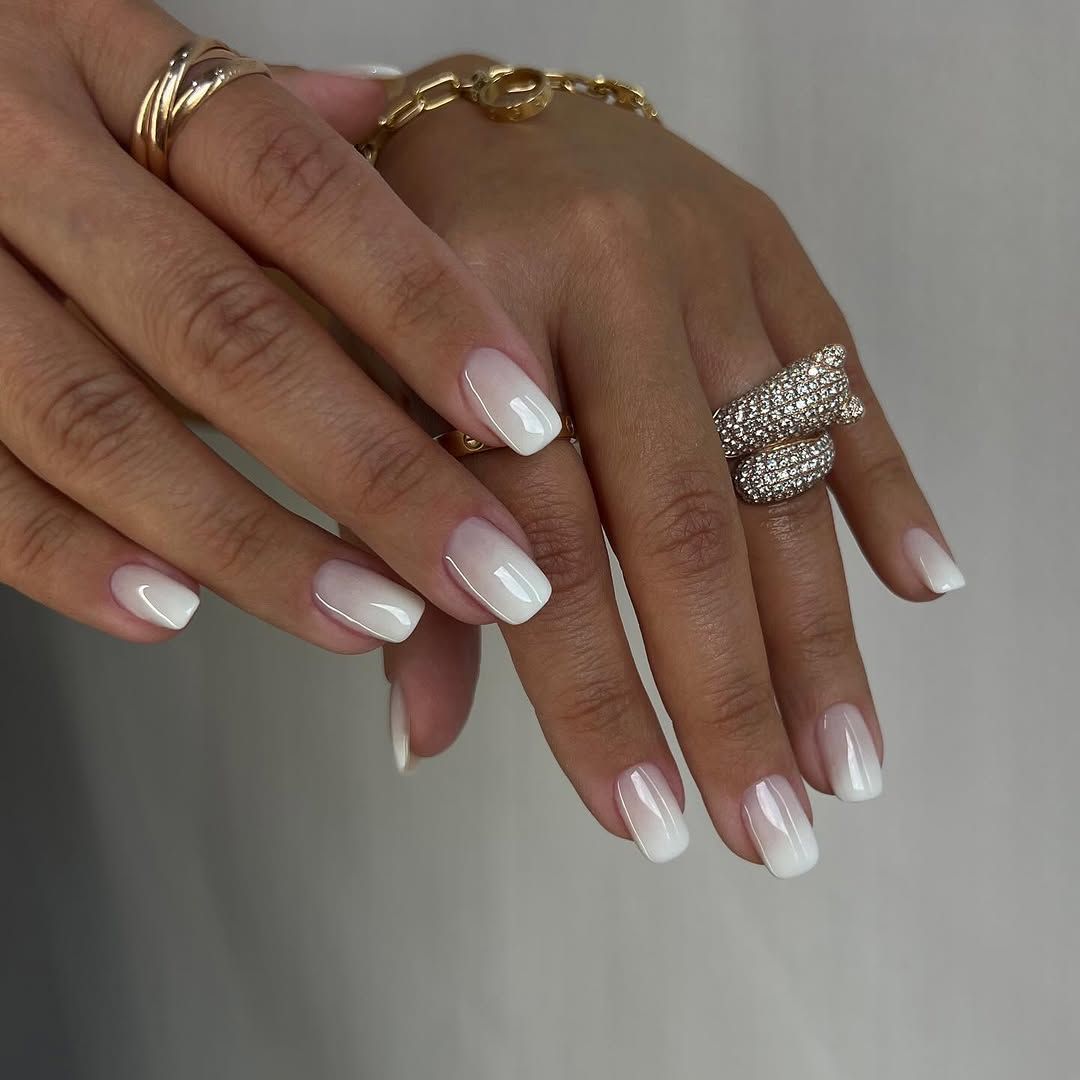
The smooth french ombre nails are a masterclass in restraint: a milky white tip melting into a sheer pink base with zero visible line. The gradient is so even it looks airbrushed, and the flawless cuticle line means grow-out is barely noticeable. This is a salon job, not a DIY, because getting that blend requires a sponge and a steady hand. Ask for a three-bead gradient, not two, or you’ll get a harsh stripe. Worth the 90 minutes in the chair.
Deep Blue to Nude Glitter Ombre with Foil
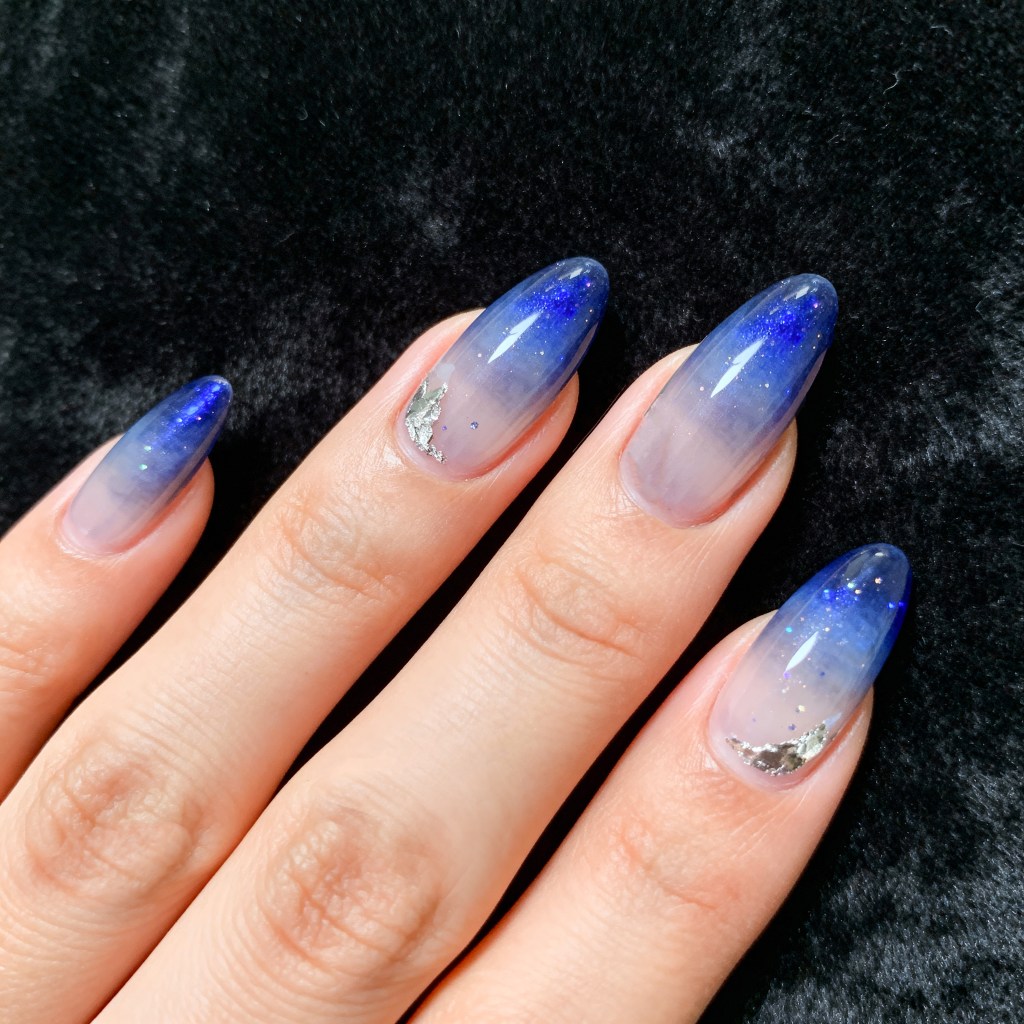
Ever tried to pull a deep blue nude ombre out of a kitchen table setup? This one is the exception to my “foil means salon” rule. You start with a sheer nude base so the blue can breathe, then pack the fine glitter onto the tip in a three-bead gradient, not two, so the blend reads like smoke instead of a stripe. The silver foil accents go on accent nails only, after the ombre is sealed, and a no-wipe top coat keeps them from rippling. Let each layer cure on its own, a half-cured gradient is how you get wrinkles.
- Long almond shape, filed before any color.
- Sheer nude base from cuticle to mid-nail.
- Deep blue with fine glitter, three beads for the blend.
- Silver foil pressed onto accent nails.
- No-wipe top coat to lock everything down.
Honest downside: foil catches on sleeves for the first day, and if you sneeze mid-press it wrinkles permanently. Removal is a long soak, not a peel, so budget the time. This one is not a Sunday DIY unless you’ve got a patient hand.
Glossy With Subtle Shimmer Blue to Light Blue Shimmer Ombre
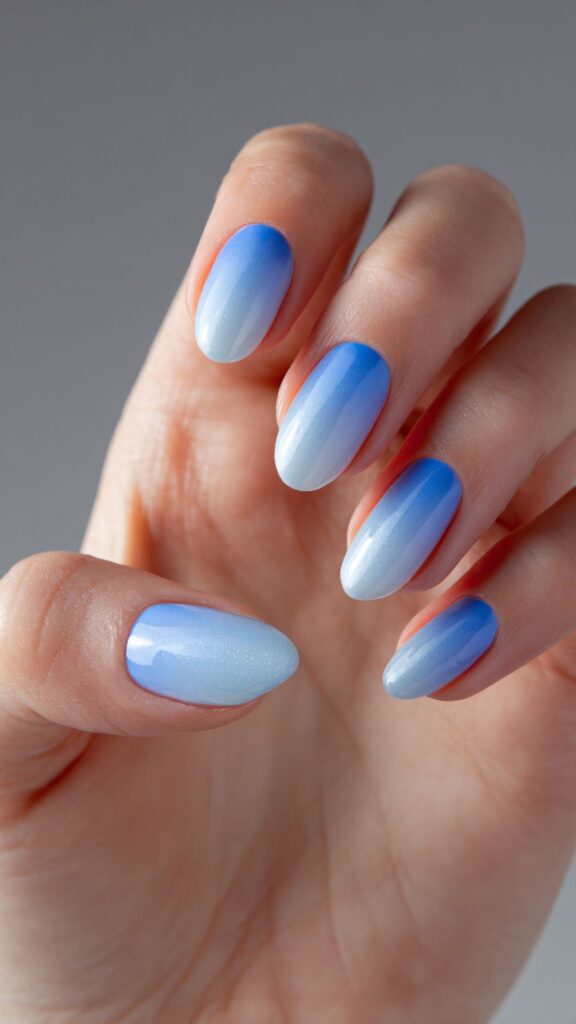
The shimmering blue ombre reads almost electric under salon light, which is exactly why I keep circling back to it. Is a vibrant blue ombre a winter color or just a pretty one that happens to match the frosty mornings? It’s not a soft snow palette, it’s a loud statement. I wore it to a holiday party and it outshined the tree. Sure, it’s not for everyone, but I’d argue the cold months handle bold blues better than pastels ever could.
Nude to Red Glitter Ombre with Snowflakes
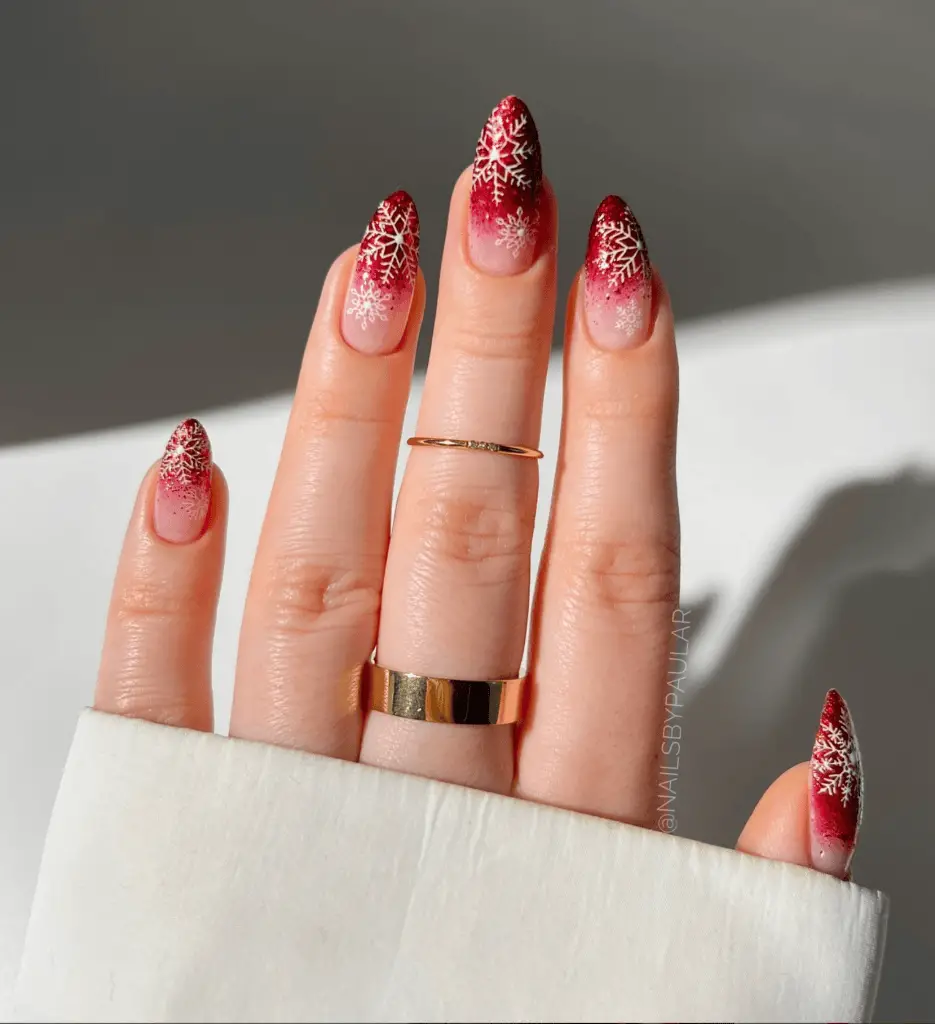
This is the one that stops the scroll. The red glitter ombre nails start at a bare nude flesh tone, then the red builds in a glitter gradient that gets denser at the tip, and the snowflakes sit on top like they fell there on purpose. The nude to red ombre does the heavy lifting because the warm red against that pale base reads festive without shouting. The glitter is fine enough to catch light but not scratchy, and the snowflakes are painted, not stamped, so they don’t peel at the edges. I’m not usually a red person, but this one has me reconsidering my whole winter plan.
Light Pink to Lavender Shimmer Ombre
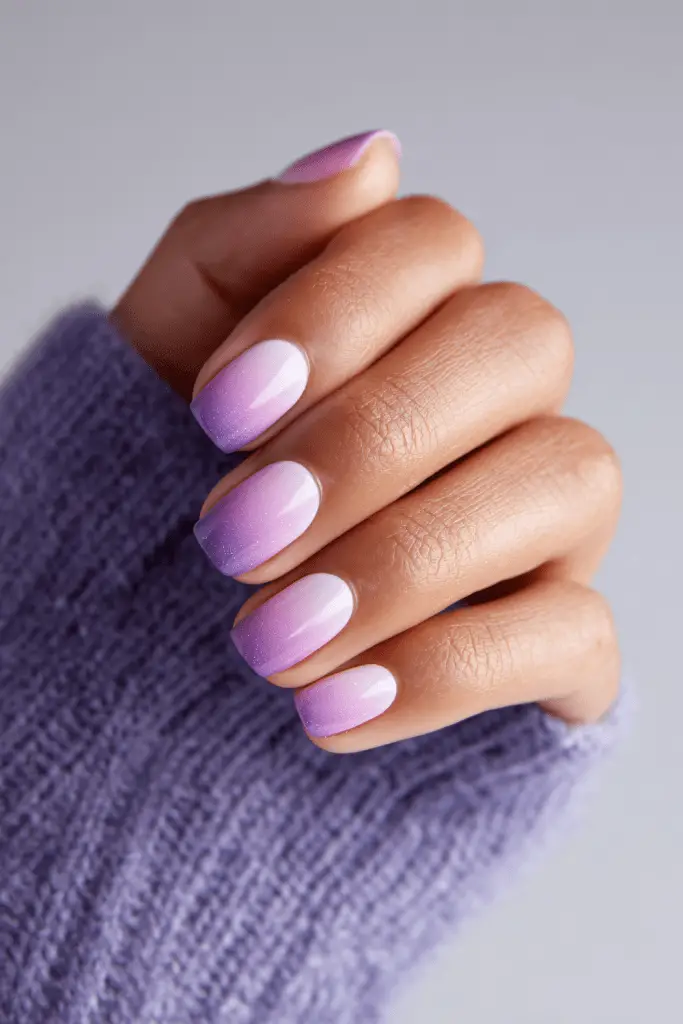
On the coldest morning of the year, these nails look like a warm exhale. The light pink to lavender shimmer ombre reads soft without being babyish, and the glossy finish catches the weak winter sun like frosted glass. The shimmer is barely there until you move, then it glows, which makes it perfect for winter when you need a little quiet sparkle. The medium oval shape keeps the gradient polished, not fussy.
Glossy With Fine Glitter Pale Blue to Pink Glitter Ombre
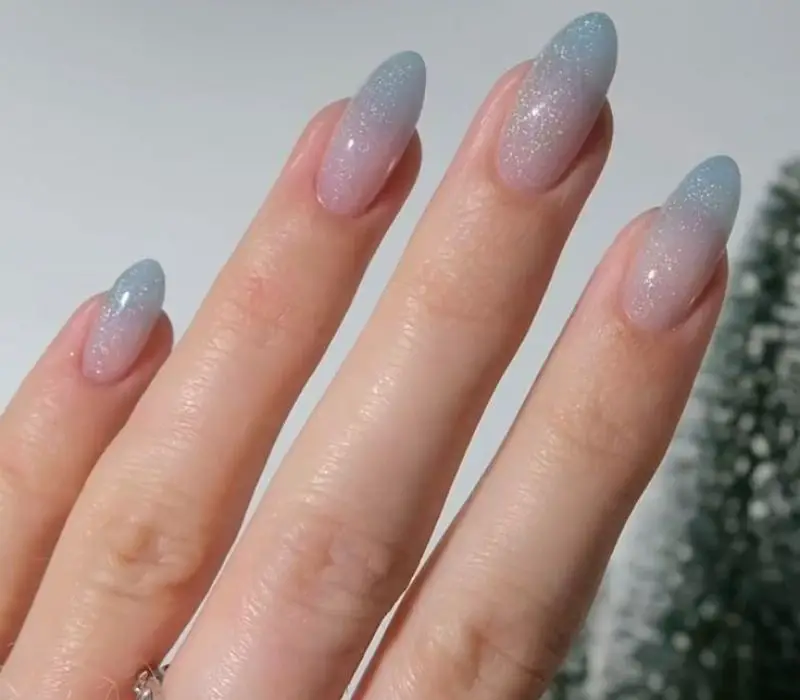
The gradient here is so fine-grained that the transition between pale blue pink glitter feels almost photographic, no harsh lines or gap patches. The fine glitter overlay adds dimension without overwhelming the delicate color shift, and you can see the cuticle work is spotless, zero flooding. This one is not a after-work DIY with a sponge, the precision required for this density of glitter over a gradient means three application layers and careful tapping. I would book the salon appointment for this one, because one uneven stroke and the whole illusion breaks. Leave it to someone who knows how to layer fine glitter without creating a lumpy finish.
Sheer Pink French with Snowflake Decals
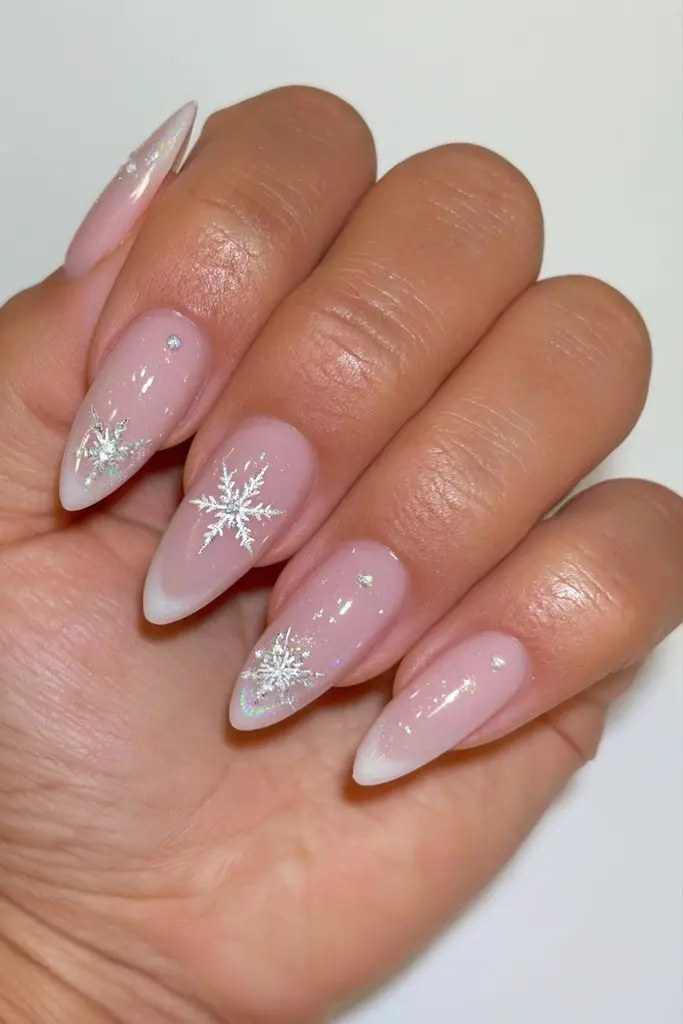
Can you fake a salon snowflake at home without a steady hand? Yes, if you use decals. The snowflake french tip nails look intricate, but the decal placement is surprisingly forgiving. The sheer pink base and white tip create a subtle ombre that hides minor mistakes. Decals eliminate the shaking hand problem, but they do require careful top coating to seal the edges: otherwise they peel at the tip within days.
The steps are straightforward: paint the sheer pink base, sponge a white tip gradient, let dry, then press a decal onto a tacky clear top coat. Use a small brush of water to slide it into place, then seal with a thick layer of top coat. Wait for that to dry before a second seal coat, rushing ruins the placement. The honest downside: decals look flat compared to hand-painted snowflakes, and large ones may not conform to a stiletto curve. Medium stiletto works best because the point gives room. The whole process takes about an hour.
Pink to White Glitter Gradient
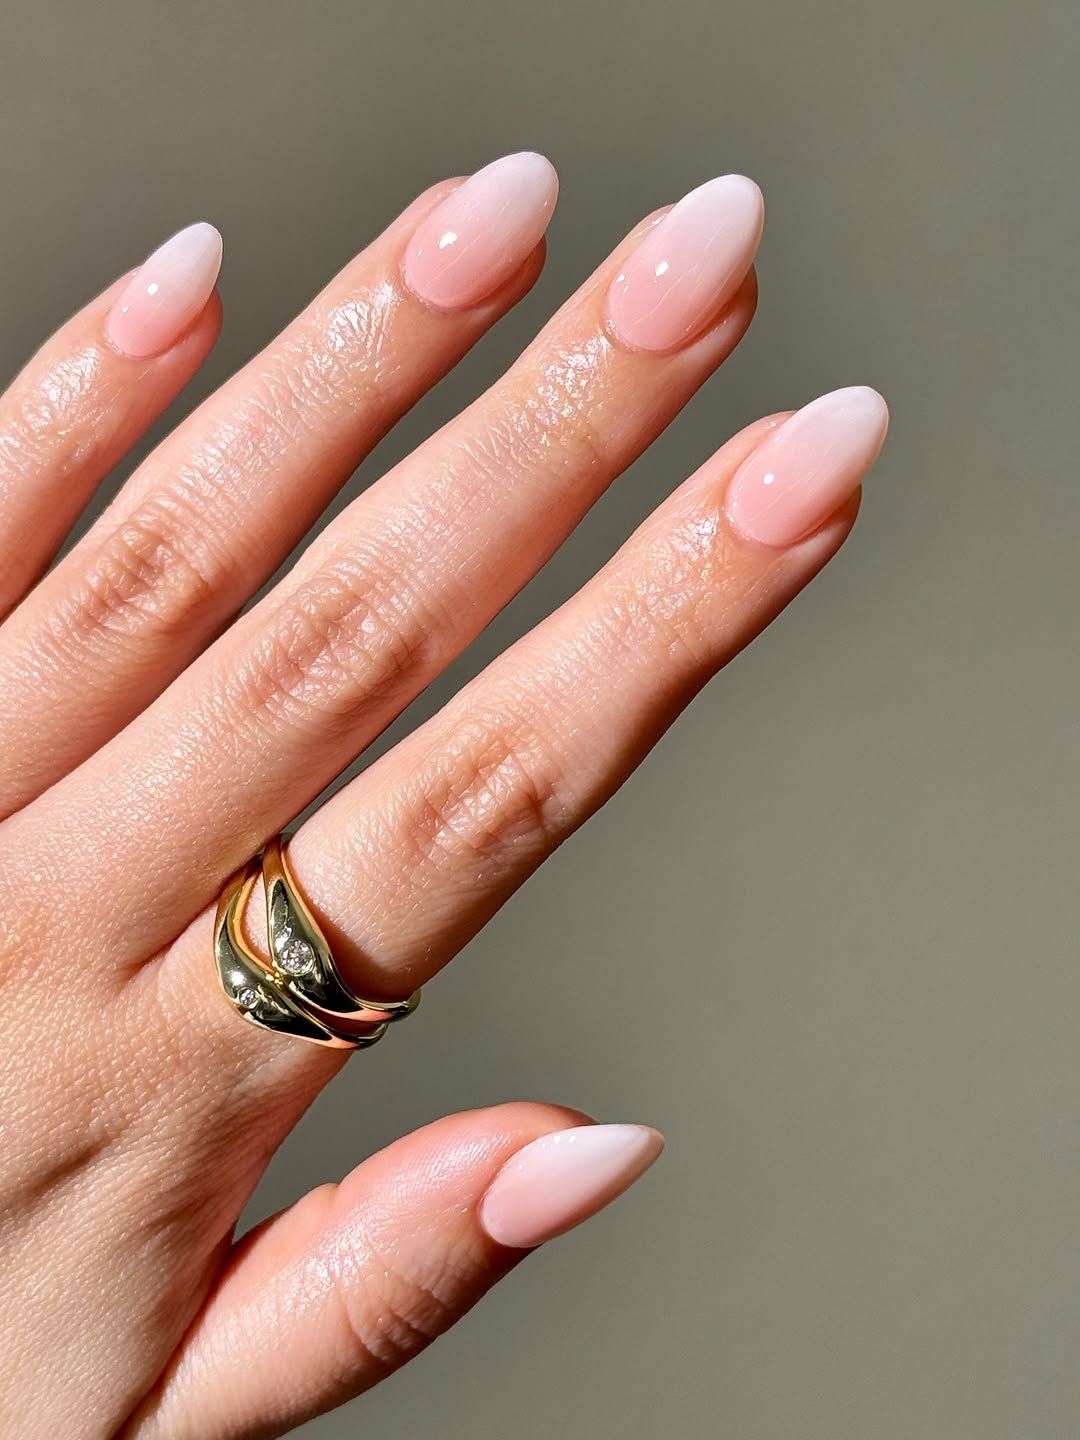
I’ll admit I was skeptical about how long a light glitter gradient would last. But this pink white glitter gradient with fine glitter held its sparkle for a full two weeks, no shedding or dulling. The medium almond shape lets the glossy finish catch light from every angle, and the gradient is so seamless it looks airbrushed. Upkeep was minimal — a quick swipe of cuticle oil each night kept the cuticles clean, and the fine glitter didn’t catch on sweaters like chunkier glitters do. I wore them through cooking, typing, and even a few contact lens removals — no chips. When did a gradient start feeling this durable?
White Ombre with Rose Gold Glitter
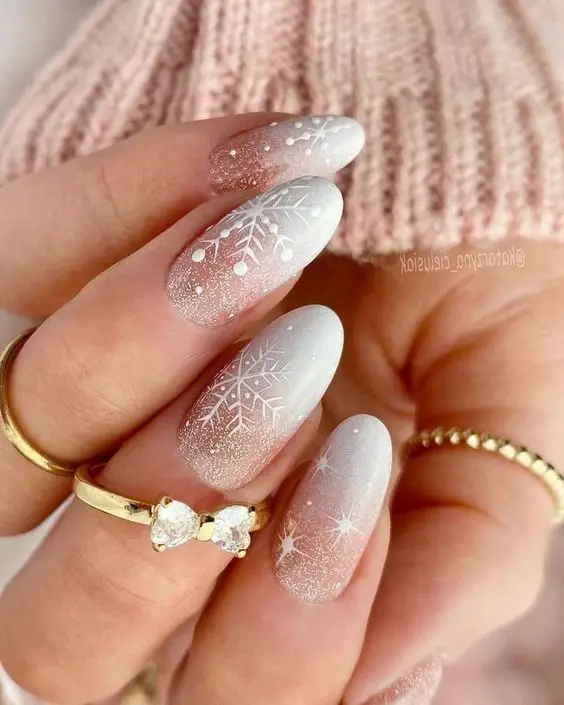
Winter weddings call for a nail that sparkles without screaming. This rose gold glitter ombre with white snowflake decals hits that balance exactly. The white base fades into sheer, then the rose gold glitter takes over at the tips — it reads like champagne in December light. The medium oval shape keeps the look elegant, and the glossy finish makes the glitter catch every candle flame. Snowflakes and shimmer.
Pink White Ombre with Gold Accents
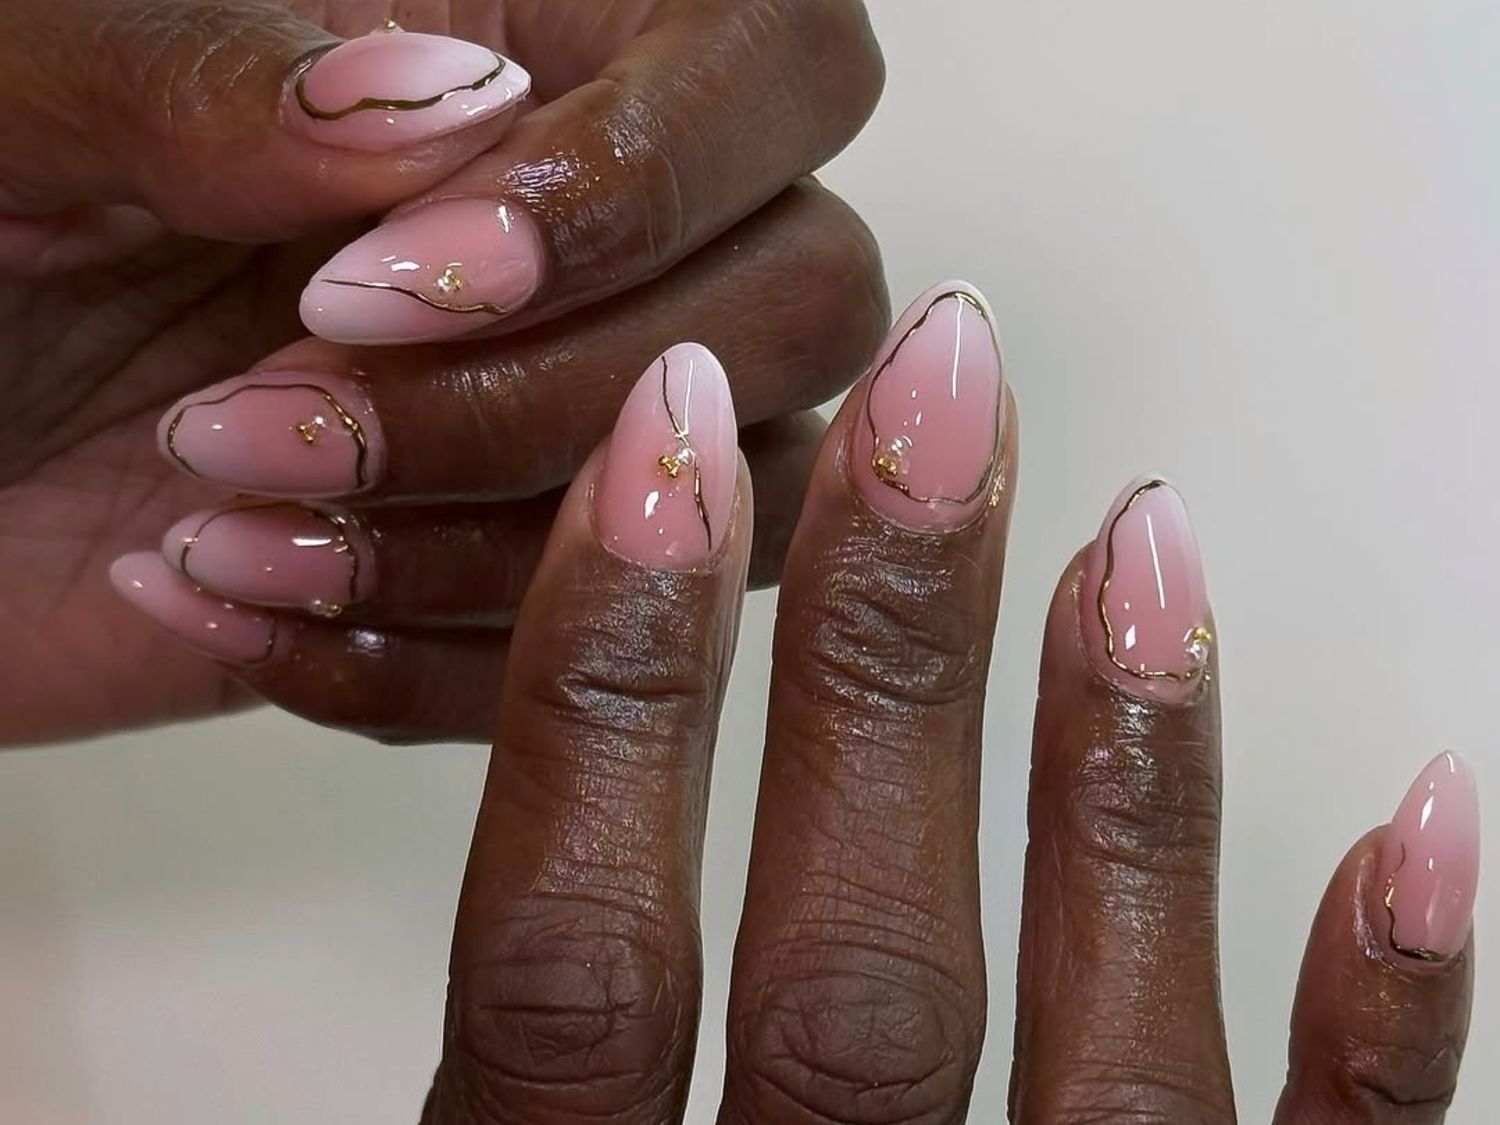
The gold lines here aren’t an afterthought — they’re the whole argument for this shape. Each one is placed with a steady hand and a thin brush, one millimeter off and it reads as accidental. That’s why I’d book a salon for this: a gold accent ombre nails look this precise needs a tech who can map the negative space before the first stripe goes down. The sheer pink to white ombre underneath is a quiet backdrop, barely there until the gold catches the light. At home you’d need a gel liner, a clean-up brush and more patience than I have on a Tuesday.
Classic French Ombre
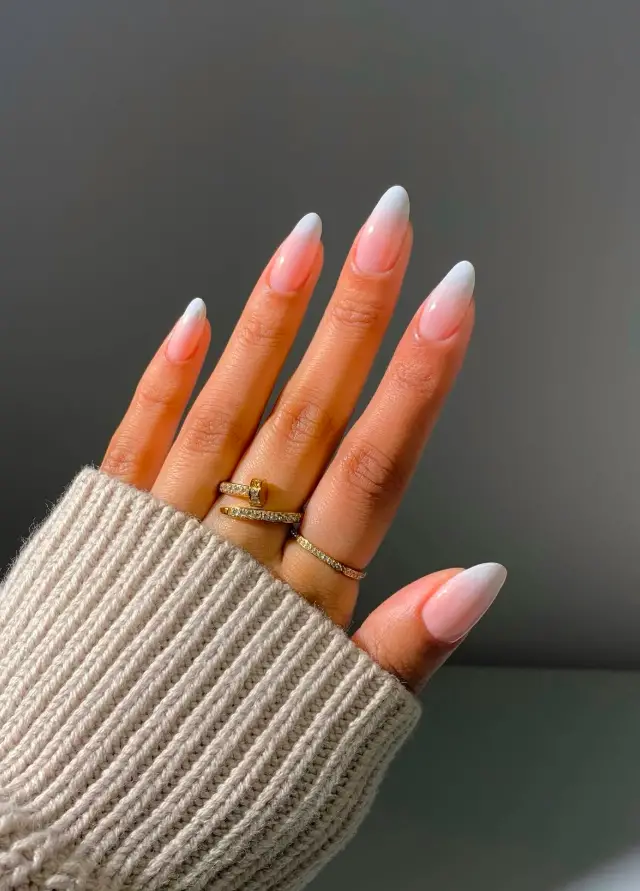
The classic french ombre is the little black dress of nails: safe, reliable, never wrong. But that’s also its problem. This one is perfectly blended — the nude pink base dissolves into white at the tip without a hard line — so it’s not the look that’s boring, it’s the fact that I’ve seen it on every hand in the waiting room. You’re paying for craftsmanship, not novelty, and if that’s what you want, you’ll wear it for three weeks without regret.
Nude White Ombre with Snowflakes
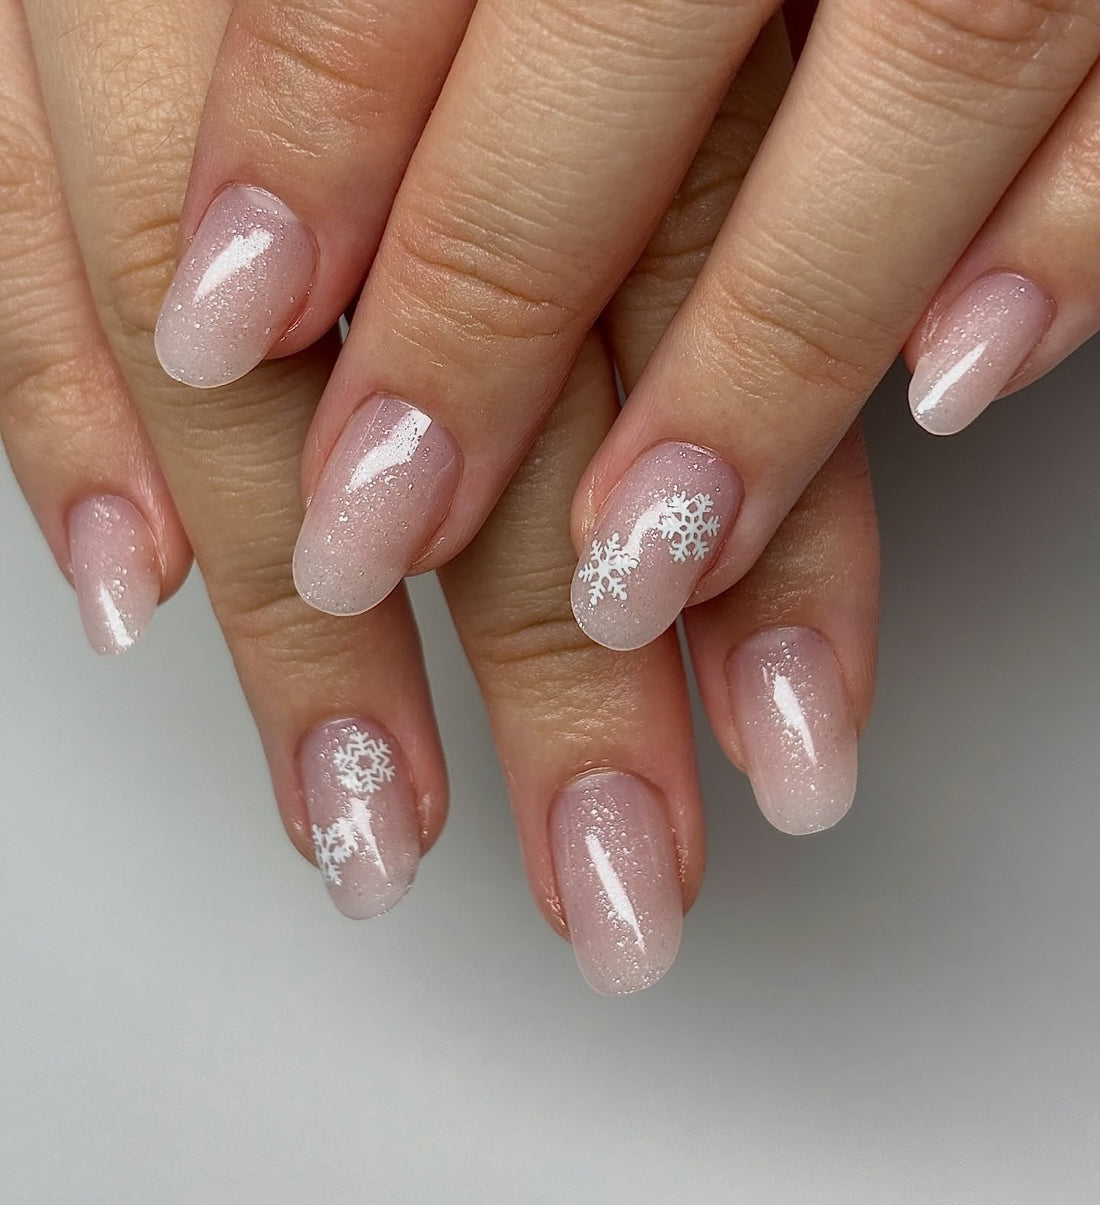
I’m team decals on this one, and I’ll tell you why. Painted snowflakes require a dotting tool, a steady hand and at least one do-over per nail. The delicate white snowflake decals on this set? They’re crisp, identical, and take about two minutes per accent nail once the ombre is dry. The nude white snowflake nails here use a warm-toned nude as the base — keeps it from washing out — and the glitter in the ombre gives the decals something to grip. Painted flakes have more personality, sure, but decals have more patience.
Light Blue French Tip with Pink Glitter
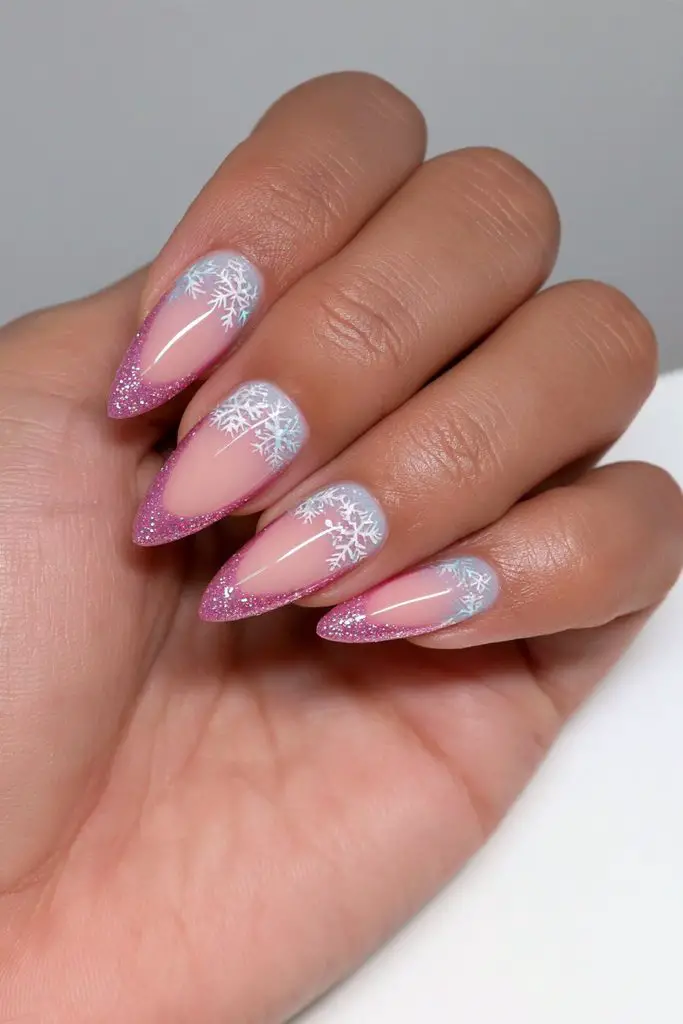
I will admit I underestimated how clean a light blue french tip nails set can look until I saw the cuticle work on these. The line where the blue meets the nail is sharp, no bleeding, and the fine pink glitter is packed densely enough that you do not see nail line through it. That matters because glitter that thin catches on sweater cuffs by day three if the top coat is not sealed at the free edge. These held two full weeks before the pink started thinning at the tips. The blue stayed true the whole time, no yellowing. Soak off only, do not peel.
Final Thoughts
All winter, I thought ombre was the safe choice. After writing these, I see it is a canvas. The deep blue to icy blue glitter ombre? That is my next appointment. The metallic red to black stiletto? I will pass. But the pink to gold metallic almond surprised me. Elegant, not overdone, and somehow still under the radar. Some trends fade. This one just gets sharper.